Guide
Camera scanning
Photograph developed film over a light source, then import the files into negaflow.
-
Prepare the equipment
Use a RAW-capable camera, a macro lens, a film holder and a diffused light source. Secure the camera on a copy stand or tripod.
-
Hold the film flat
Keep the film flat in its holder and remove dust before each capture. If you use glass, check for reflections and Newton rings.
-
Check the light
Light the film evenly and reduce reflections from room lights. Make a test exposure to check for flicker or banding.
-
Align the camera
Keep the sensor and film planes parallel. Use magnified live view to compare sharpness in the centre and all four corners.
-
Set focus and exposure
Shoot RAW at the camera’s base ISO and compare sharpness at different apertures. Focus with magnified live view and use a remote release or timer.
Check the camera’s histogram and captured image, and adjust exposure to avoid clipping bright areas.
-
Develop in negaflow
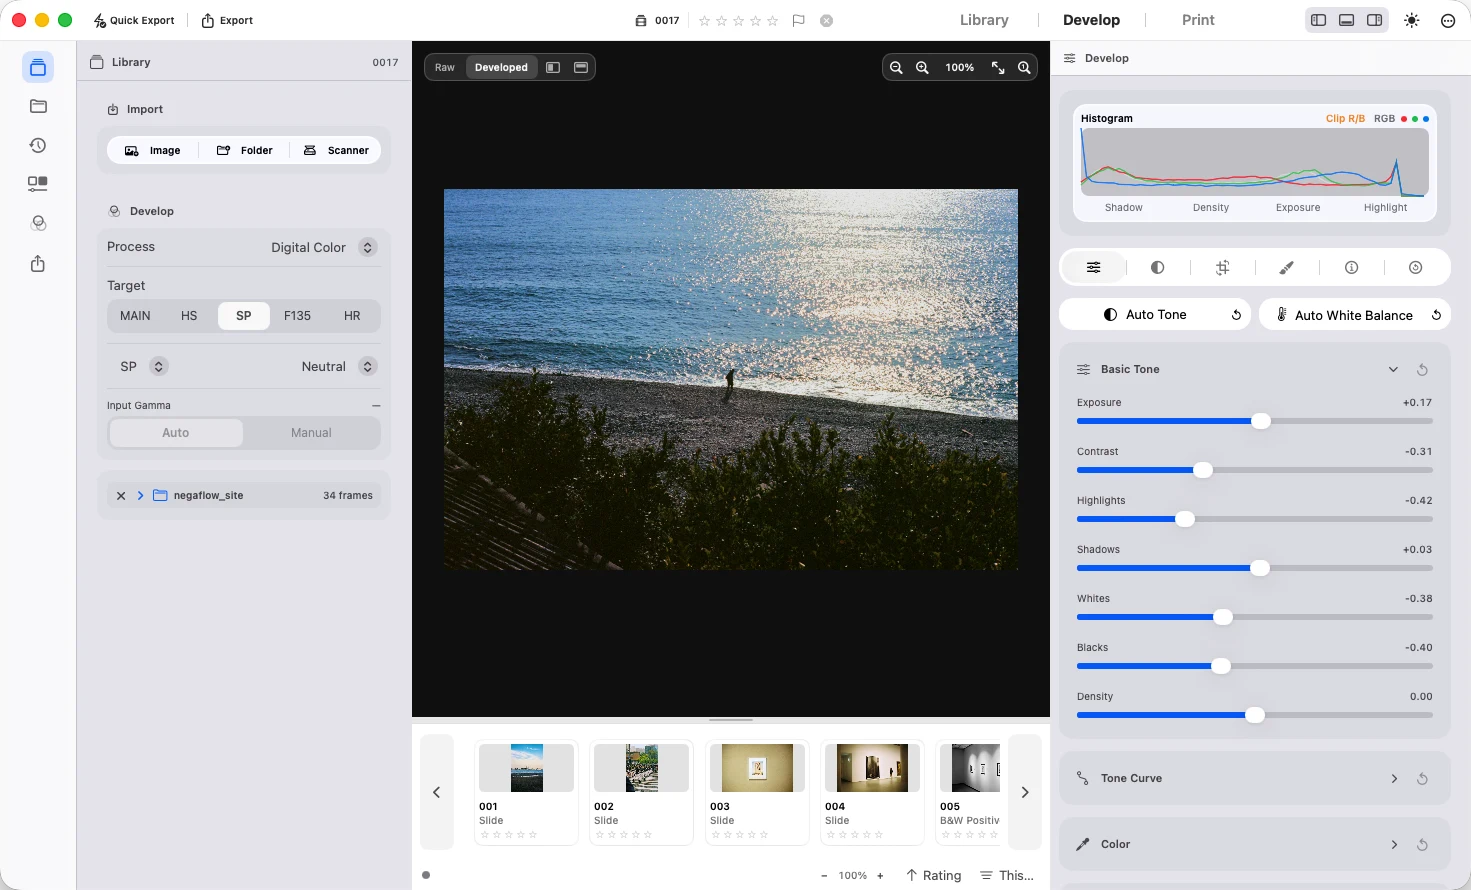
Import the captured files and choose the film type and development target. If the base needs adjusting, sample unexposed film with the eyedropper or enter RGB values.